CLICK HERE FOR BLOGGER TEMPLATES AND MYSPACE LAYOUTS »

Tuesday, April 19, 2011

Happy birthday Andysa!!!


Well it actually isn't... his birthday was almost a month ago on March 24th. I just figure that I should still put it on here because it is a cute little cake. I'm having trouble with posting on here on a regular basis. I need to try to commit to at least once a week, but we'll see =)

I do usually make most of my cakes from scratch, but I am not afraid of using a boxed mix and fixing it up so that it tastes homemade. Depending on the recipe, there will be times where it's either cheaper or more costly to use a mix. For this case, it did cost more to use a mix.

So for the cake, I added what the box asked for with the mix, except I used root beer instead of water, and I added a half tsp of cinnamon and a half teaspoon of nutmeg (or was it allspice? I forget...). As for the frosting, I whipped some heavy cream with root beer extract/concentrate until the peaks held their shape, but weren't stiff. As you can see in the photos below, it came out well.


Along with the cake, I also gave him a bottle of root beer soda and a tub of vanilla bean ice cream so he could make his own floats. I have to be quite honest and say that I've maybe had a root beer float once or twice in my life, and I wasn't exactly a fan. I've never been big on root beer, either, so the cake wasn't exactly something I absolutely loved. He liked it though, and that's what matters!

Tuesday, March 15, 2011

Vanilla Bean Cheesecake

Most people tend to think that cheesecake is complicated to make. To be quite honest, it's pretty damn easy to whip up as long as you have all the ingredients.

I bought a few cheesecake pans recently that bakes individual sized portions. Though setting them up is a bit messy, and the clean-up almost seems like a hassle, I was very happy with the results. Always keep in mind to wipe down the sides after pressing in your graham cracker crust; I had two pans of cheesecake made where I wiped down the sides of one, and I didn't do it for the other. The one where I wiped the sides down looked beautiful and evenly baked, whereas the pan I decided not to wipe... those ones came out mostly ugly, uneven, and with slightly browned edges.

Vanilla Bean Cheesecake
- 3/4 cup graham cracker crumbs
- 1/3 stick butter, melted
- 3 tbsp sugar
- 1 package cream cheese, room temp
- 1/4 cup sugar
- 1 large egg
- 1 tbsp vanilla bean paste

Mix together the first 3 ingredients. Place desired amount in each cavity (this new pan required about 1tbsp packed) and press down.

Beat cream cheese and sugar together. Add egg and paste and beat until just blended. Divide evenly among pan, and bake in preheated 350 oven for 14 minutes or until centers are almost set. Let cool for 10 minutes, then take out of pan to cool completely.

My pan had removable bottoms, so I took those off after the cheesecake cooled completely. I also put 1 tbsp of the vanilla paste instead of the recommended 1 tsp so I can see the lovely specks.


Wednesday, February 23, 2011

fleur de sel cupcakes

I've found it last week. I've found the cupcake of all cupcakes. I now know the recipe, and it will probably be my downfall because I may just eat way toooooooo many of them!

I first had these at Loves Cupcakes, a bakery near the school I go to. I was so intrigued by the idea of salt and caramel because I never tried it. And boy, was I glad that I did! Those cupcakes were the BEST I ever had! But of course... you can't just go buy a cupcake all the time because that does add up at 3.25 a piece for a regular or 1.75 for a mini cupcake.

I've been searching for recipes on this cupcake for months, and always finding recipes that didn't seem like the right one. This is mainly because of the fact that most other bakers would make a chocolate cake and chocolate frosting type of variation, not the one that Loves did. Their cupcake was a caramel one with an Italian buttercream. The one I found is pretty close... a brown sugar cupcake with a cooked buttercream, drizzled with caramel and lightly sprinkled with fleur de sel.

I got the recipe off a new favorite blog, How to Eat A Cupcake. The only real difference is that when I made it, I had 12 regular sized cupcakes and used the rest for minis (which came out to at least 12 more). I also added about 1/3 of the caramel drizzle to the buttercream for a light taste of caramel. The only difference I would probably make is halving the recipe for the caramel drizzle. I've got tons left over so I plan on making a chocolate cupcake version soon... probably tonight!

Anyways, as I said... best cupcake ever. I can usually only eat 1-2 max before I don't care to have anymore. But these... I swear I had like 3-4 of the regular sized ones and at least 4 of the minis within a day or two.

Wednesday, January 26, 2011

Green Teamisu

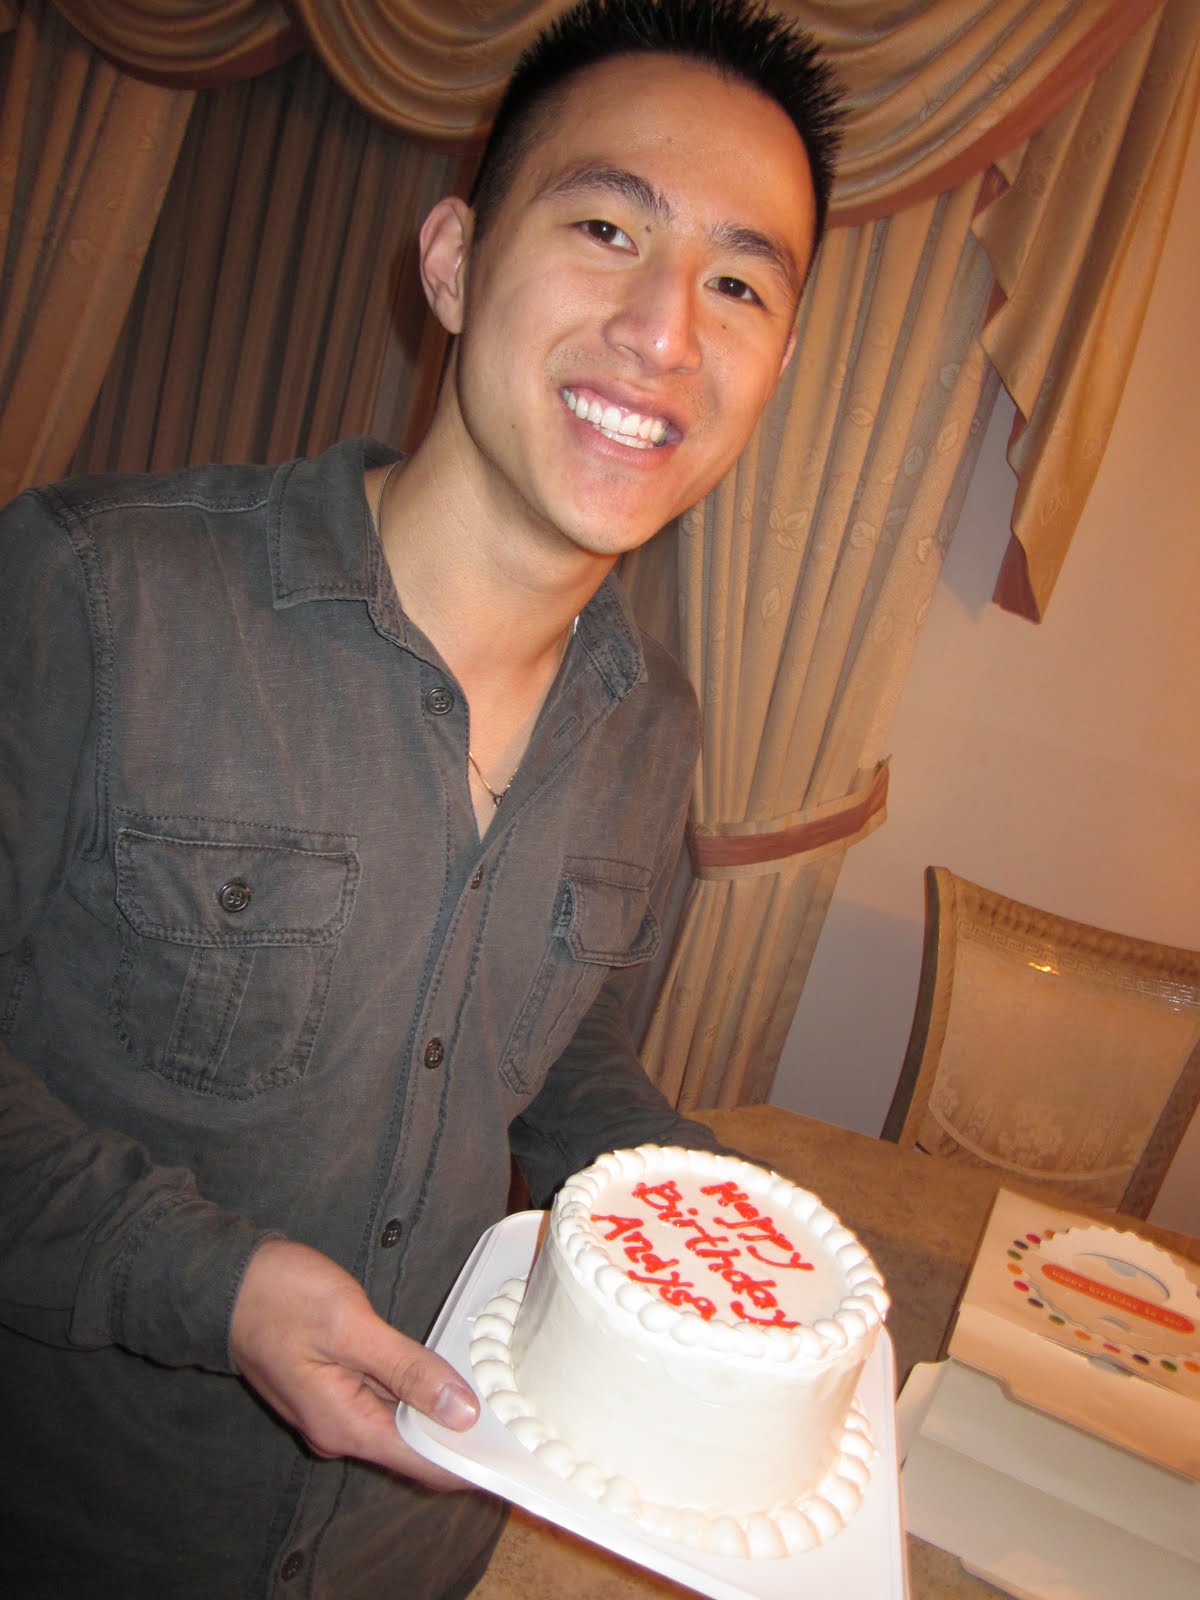
So a friend and I attempted to make tiramisu the other day... and didn't do too great. How did we spend all that time on it, yet we didn't get the results that we had hoped for?

It could be any one or combination of;
1. Over-whipped whipping cream
2. Over-whipped egg yolks

How can I have enough experience, yet we made such a drastic mistake? I can admit that I used to produce it in mass quantities when I was an intern at Sugar Butter Flour, so you'd think that I would have it perfected. I think our downfall was the fact that we were trying to do 3 things at once, and I was sort of trying to rush it. Anyway... long story short; we got the taste down, but the texture was nowhere near what it should have been.

It was because of this that I was super determined to do a green tea version and make it perfect. I used a recipe that I adapted from a favorite blog of mine, House of Annie. Annie had meant for it to be easy and for use with store bought ladyfingers, but I opted to make my own out of eggs, sugar, flour, and baking powder to get more oohs and aahs from the fact that I made the entire thing from scratch.

I don't know if I've ever been more proud than I have today. I'm overjoyed with the results of this cake, and I plan on making this again some time in the near future. The one thing I'd like to do different, though, is the whipping of the egg yolks for the cream mixture - I believe I slightly under-mixed that, so the cream was a bit soft. Either way, perfect dessert! Not too sweet and quite refreshing...

Ladyfingers
I used a recipe from allrecipes.com, but will possibly try one that uses almond powder the next time.

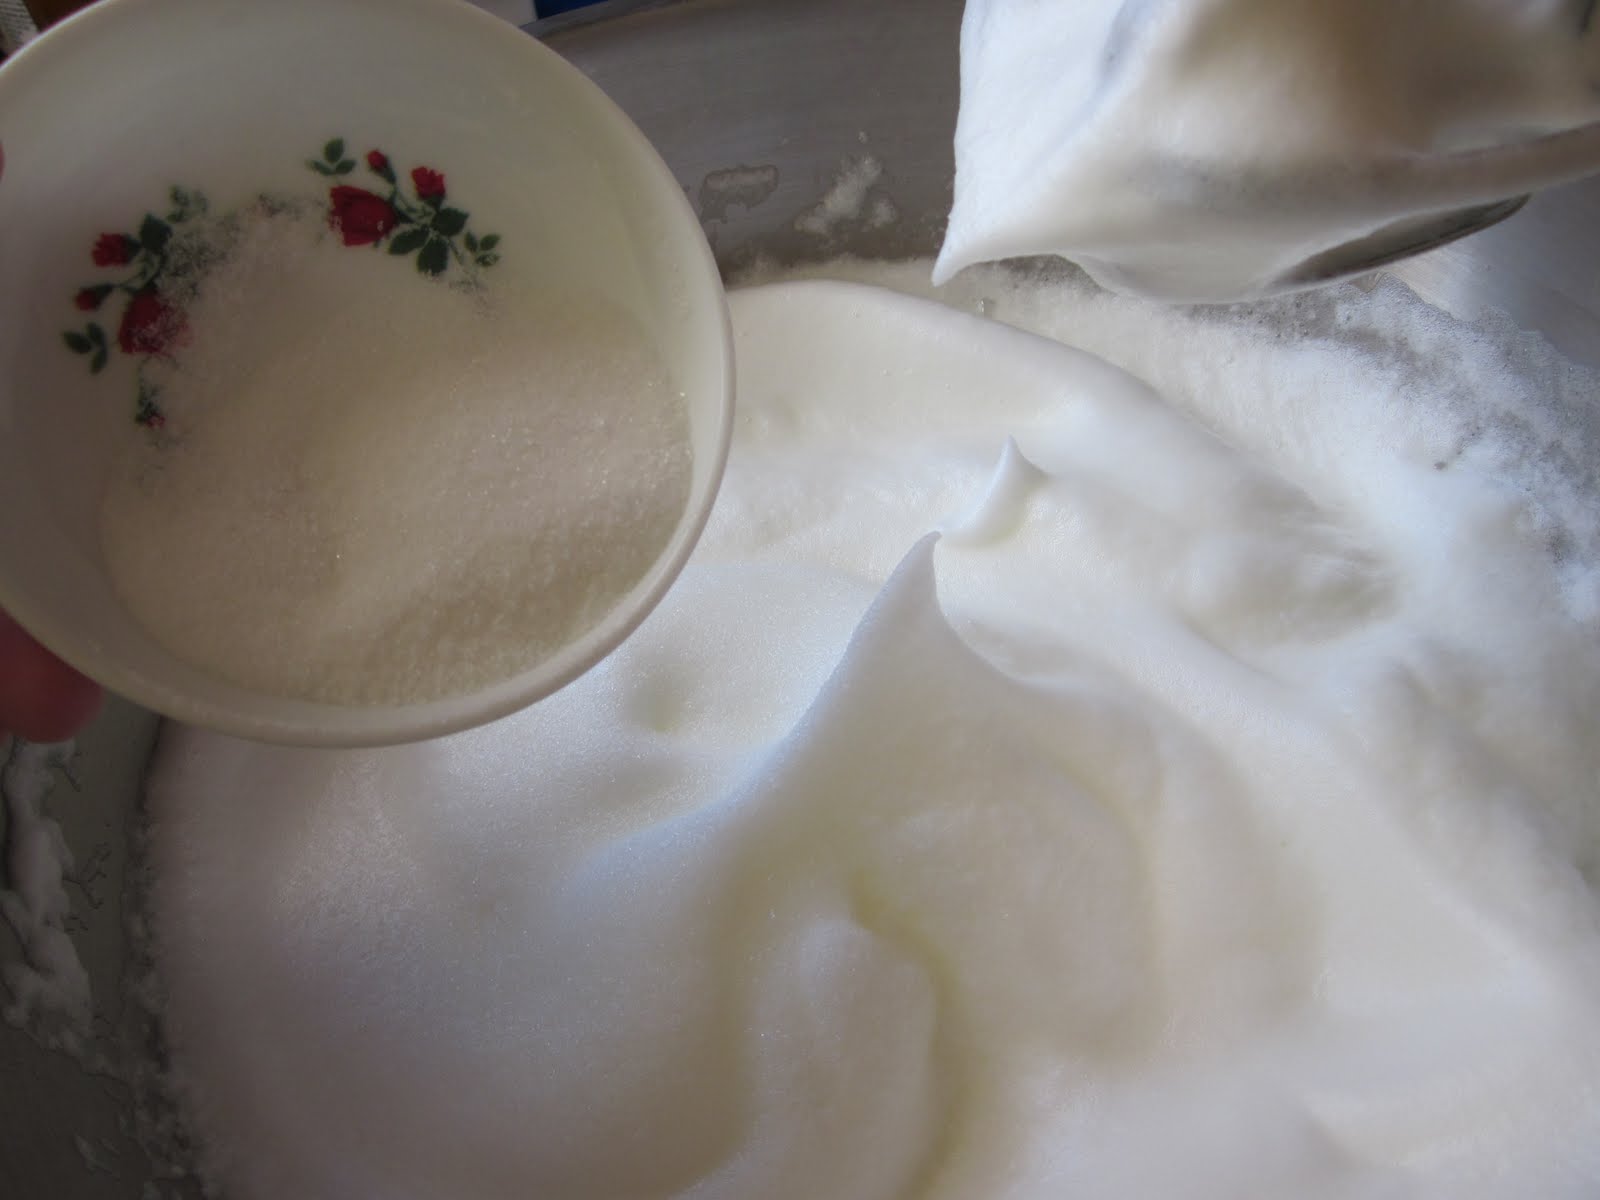
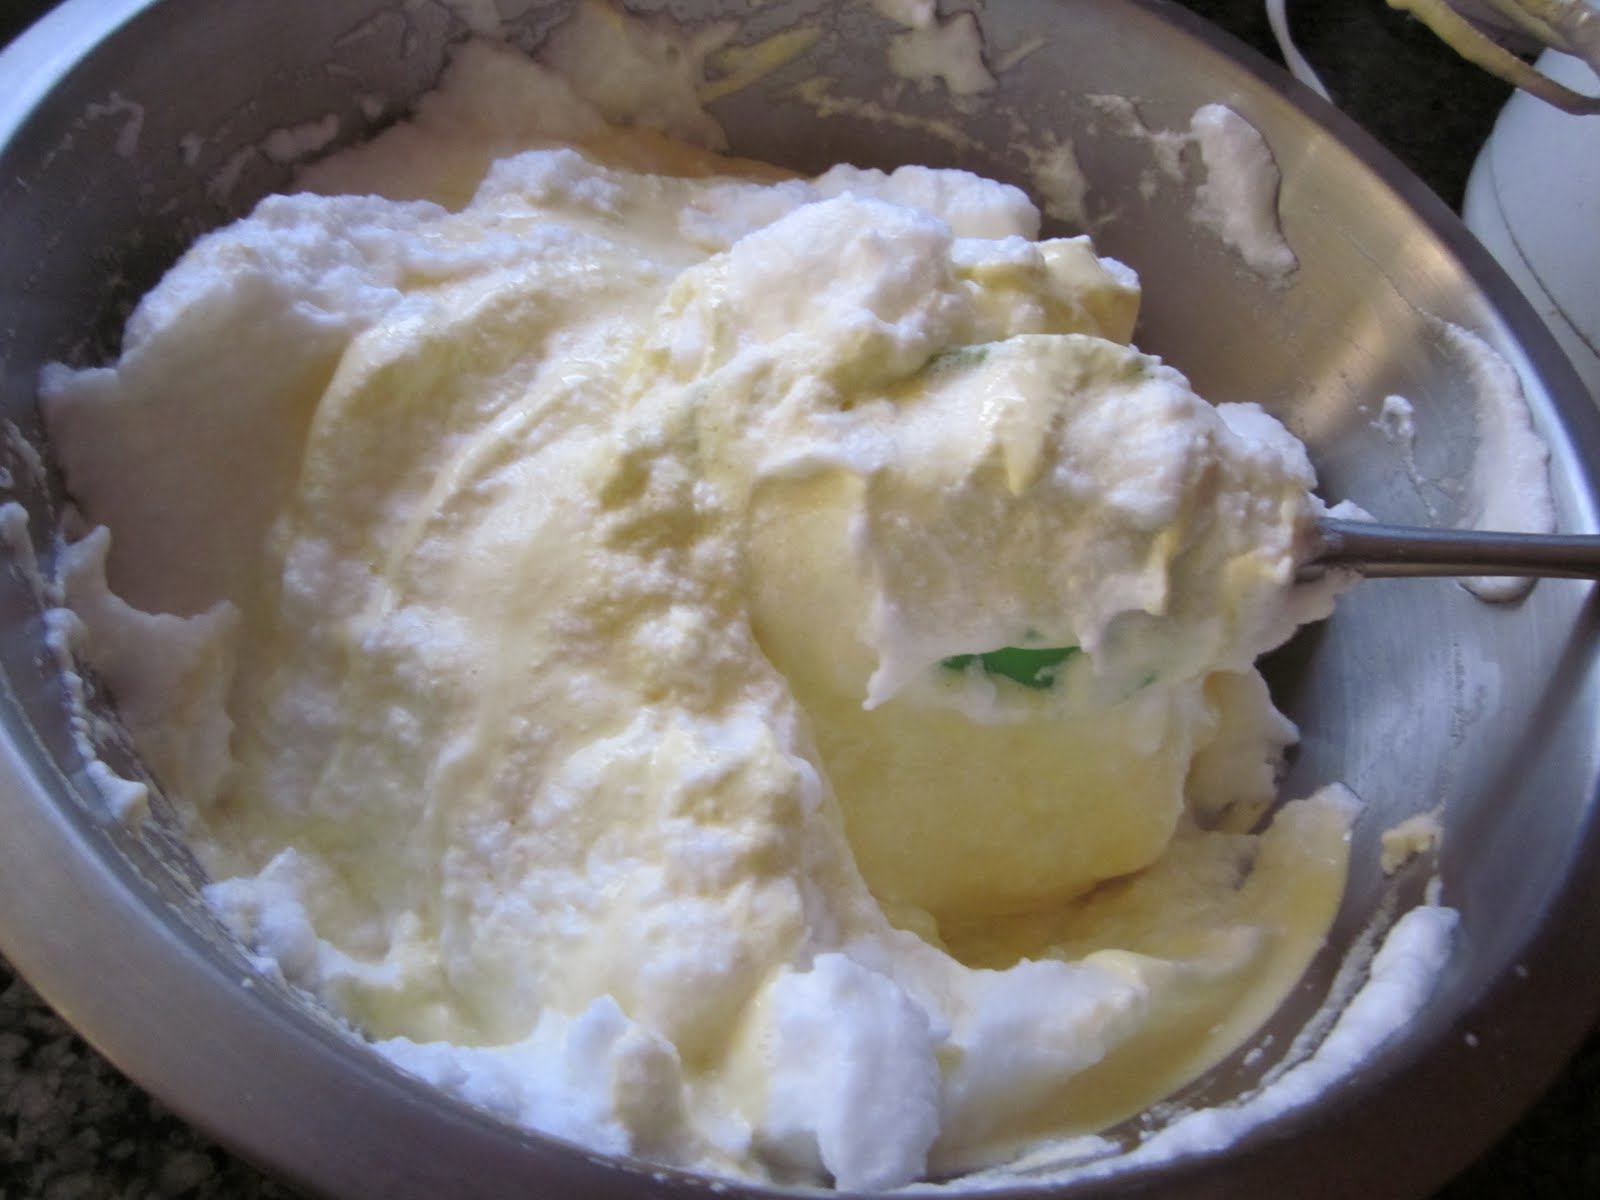
Beat egg whites until soft peaks form. Add 4 tsp of sugar, 1 tsp at a time, until stiff peaks form.


Beat yolks and remaining sugar together until pale yellow in color. Add to egg whites and gently fold in.


Blend together flour and powder. Fold into egg mixture, a third at a time, until well incorporated.


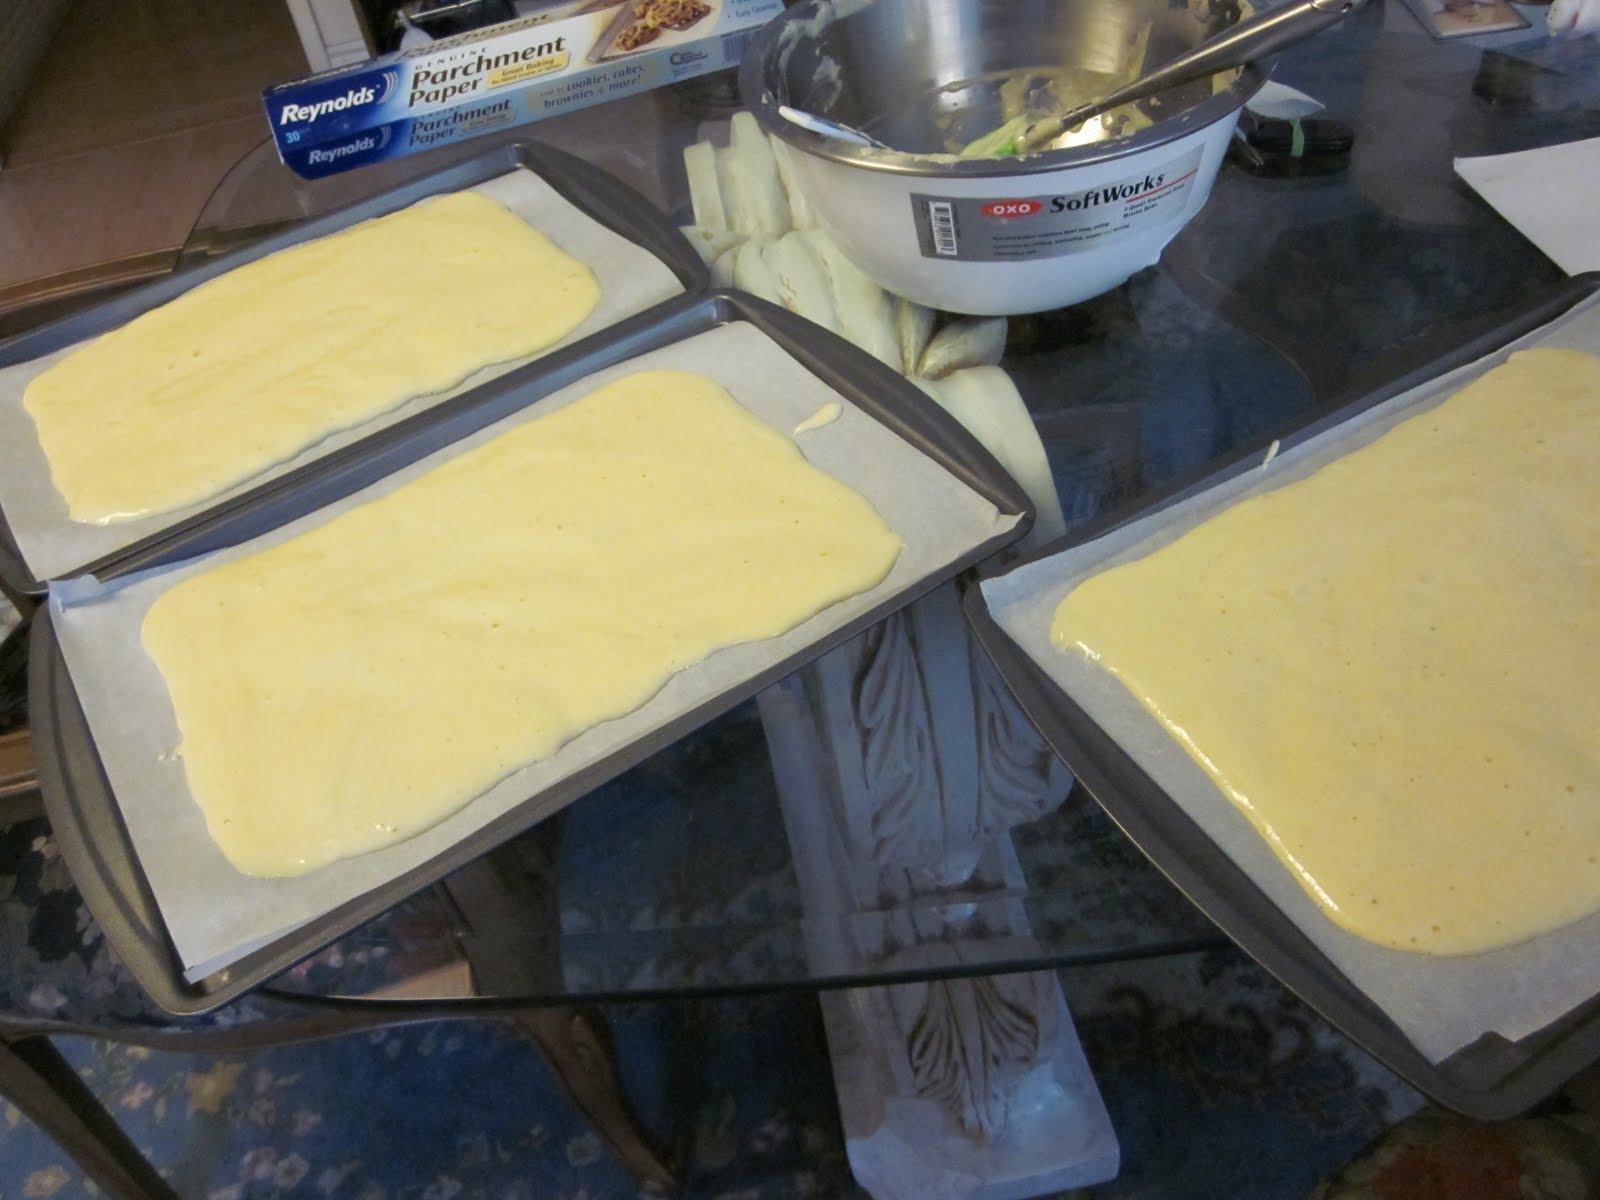
Evenly spread batter over 3 cookie pans covered in parchment (you can make them as actual ladyfingers, but I find it is easier and less work to just bake in sheets). I spread them enough so that when baked, they would be close to fitting a 9x13 pan.


Bake each sheet for 6-8 minutes in a preheated oven of 400 degrees. Let cool completely.

Teamisu mixture
from house of annie
I doubled the recipe for the amount of cream I needed, and I also made a couple of slight changes that, for now, will be kept secret ;)
3 yolks
1 cups heavy whipping cream
1/2 cup sugar
1 tsp vanilla extract (I used vanilla bean paste)
1 tsp orange liqueur (optional)
1/2 lb marscapone
2 tsp matcha powder

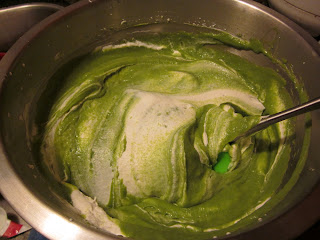
Beat yolks and sugar until pale yellow and double in size. If desired, do this while over a double boiler to cook the yolks a bit (when you're done, place in an ice bath to cool it).
Beat marscapone until smooth. Add matcha, 1 tsp at a time, until well incorporated. Don't forget to scrape the bowl! Fold into yolk mixture.


Beat heavy whipping cream with extract and liqueur until stiff peaks form. Add matcha mixture and fold in.


For the assembly, you need 1-1/3 cups strongly brewed green tea (cooled)

Assembly
Cover pan in foil. Cut the ladyfinger sheets to fit in pan, and set first layer in. My pan was only able to fit two, which means I should bake another set to have enough for TWO pans of teamisu!!
Pour 2/3 of the cooled tea over the ladyfingers. If desired, add a tsp of the orange liqueur to the tea prior to pouring.
Spread half of the matcha mixture over cake. Repeat the process.
Cool overnight. Cut into clean, even squares and sprinkle some matcha powder over prior to serving. ENJOY!!

Monday, September 20, 2010

Fruit Tartlets

As I sit here in class (and obviously not paying attention), I realize that I'm horrible with updating this website. I am also not a good student if I don't even bother to pay attention! I think that to keep my sanity, this would be a way for me to have a form of release and to take my mind off things. Anyways, I thought I would talk about the fruit tartlets I made for my baby niece's 1-month celebration (she's 6 1/2 months now... so fast!).

I have never been good with giving gifts. If I don't know what to buy for a person or if I can't afford it, I hate to shop. I prefer to bake. Not only is it kinder to my wallet, but it's more personal and made with love! (corny, I know)

When figuring out what to make, I had to keep in mind that Hong, her mother, and that side of the family wasn't too big on sweets and pastries. That made things tough because that's what I know. They all love fruit, but I didn't want to just bring the fruit on a platter - I still wanted to have a beautiful presentation where everyone would get something bite-sized that contained a piece of each fruit. As I went shopping the day before, I chose to use strawberries, kiwi, canned mandarin oranges, and blueberries.

I had used a store bought pie dough for the shells. Sadly enough, I have plenty of baking experience, but little to none on making pies and pie crust. I like to blame it on the fact that I don't have a food processor, and am not willing to buy one just for baking purposes. The main factor was that, as I was browsing after picking the fruit at my local Safeway, I discovered that the dough was on sale for extremely cheap.

In order to make them in perfect little cups, I cut small circles with a 2inch cookie cutter and fit them into mini cupcake pans, poked little holes in them, and baked them just until the edges were browning. I piped in just enough homemade custard to fill the bottom, then assembled the fruit (that I cleaned and sliced beforehand) the way I thought would be pretty. I glazed them prior to leaving for the party, and they were actually quite a hit. None of my brother's friends knew that there was a baker in the family, so they all thought it was store bought. The custard was a bit rich on its own, but was balanced out with the crust and the fruit.

Sunday, January 17, 2010

late new years?

The start of my new year sucked, plain and simple. The midnight strike occurred when I was in the shower lol... There isn't much you can do when you get off at about 11pm (yes, I finally have a job) and all of your friends are out of town celebrating...

The only thing I was happy with that day... was my NYE red velvet cupcakes. It was a hit with the coworkers (one ate freaking 4!!).

Wednesday, December 16, 2009

Red Velvet Cupcakes

Must I say anything about this? I love the hint of cocoa and the moist texture this cake has. Also, you're not really limited to just red (green is my favorite color, so I'll use that the next time). These were made for a bake sale, and are actually mini-sized for a faster sale and to attract all the females that love cute things.

cake batter;
2-1/2 cups cake flour*
1 1/2 cups sugar
1 teaspoon baking powder
1 teaspoon baking soda
1 teaspoon salt
2 tablespoons unsweetened cocoa powder
2 oz. red liquid food coloring* (or any color to your liking)
1/2 cup veggie oil
2 eggs, at room temperature
1 teaspoon vanilla extract
1 cup buttermilk*, at room temp
1 teaspoon white vinegar

Preheat oven to 350.
Sift dry ingredients together until well blended.
Add wet ingredients and beat on low speed until just incorporated.
Fill cupcake liners 2/3 full with batter.
Bake for 20 minutes.
Cool in pan for 2 minutes before transferring to wire rack to cool completely.


frosting;
1 pckg (8oz) cream cheese, room temp
1 stick butter, softened
1 tsp vanilla extract
4 cups powdered sugar, sifted
4 tbsp milk

Beat cream cheese and butter until light and fluffy.
Add vanilla.
Beat in sugar, 1/2cup to 1cup at a time.
Add 2 tbsp of milk and beat in.
Beat in an additional tsp to 1/2 tbsp of milk at a time, if desired, to consistency you like.


**
- cake flour; if you don't have access to this, sub with 2-1/4 cup all-purpose and 1/4 cup corn starch
- food coloring; I use Wilton's gel food coloring - not only is it cheaper ($1.69/1oz bottle), you only have to use HALF of it!!!
buttermilk; a great sub is a tbsp of white vinegar plus enough milk to equal a cup; just add together, stir up a bit, and leave for at least 10 minutes
- makes 24 cupcakes, 75 mini cupcakes, 1 2-layered 8 or 9-inch cake, or a 2-layered 6-inch with enough batter for about 6-8 cupcakes